How To Take A Photo Of A Ghost – Spirit Photography

This article is more than five years old and was last updated in October 2020.
What Is Spirit Photography?
Spirit photography is a field of photography which aims to capture images of ghosts or apparitions in the shot, usually as part of ghost hunts or in haunted locations. The principles are very old, dating back to the 19th century and as cameras have to got better and more advanced, so have the photos of spirits. Even modern smartphones can be used to capture spirits.
Many spirit photographs can be easily explained as double exposures, tricks of the light, or fakes but some ghost pictures are just too weird to explain and leave the ghost hunting community baffled.
While spirit photography maybe a bit of an art form for some, for most it’s just a chance happening. A high percentage of ghost in photographs are caught unintentionally and although this might make for a great news story, the fact the photo hasn’t been taken under controlled conditions makes it hard to determine whether a spirit is really present in the photograph or not.
What’s The Best Camera To Capture A Ghost?
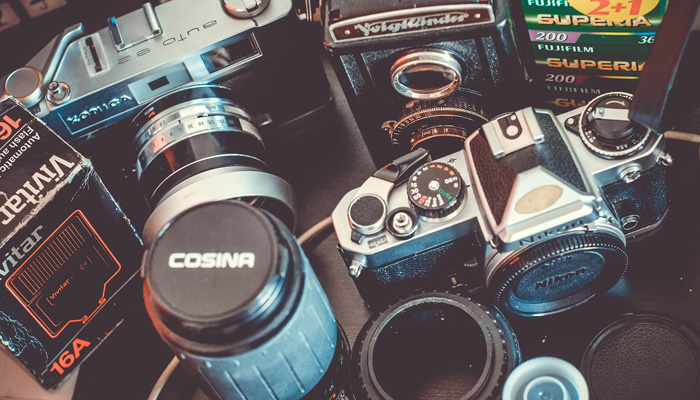
No matter which camera you use, the one thing you should be aware of is the quirks the camera has which could give you false positives on a hunt and reveal a spirit that isn’t really there. For example, on older film cameras it’s easy to catch a “ghost” on film if you forget to wind the camera forward after each photograph you take, this simple mistake will give you double exposures. This is when one image is superimposed on another, often with an eerie transparent quality.
Another thing to look out for with older camera is light leak, if there are defects in the camera’s body, or if the film itself is old or been stored in poor conditions, light could leak on to the film and expose areas of it giving you streaks or patches of light.
When shooting in the dark on film it’s best to use a film with a high speed, measured in ISO, but in doing so you will find that your pictures can appear grainier which can introduce odd shapes and elements into your photographs.
The issue of grainy photos in low light isn’t just an problem with with film but is also apparent on photos taken on digital cameras and smartphones, however as technology improves, low light photography is getting better and better.
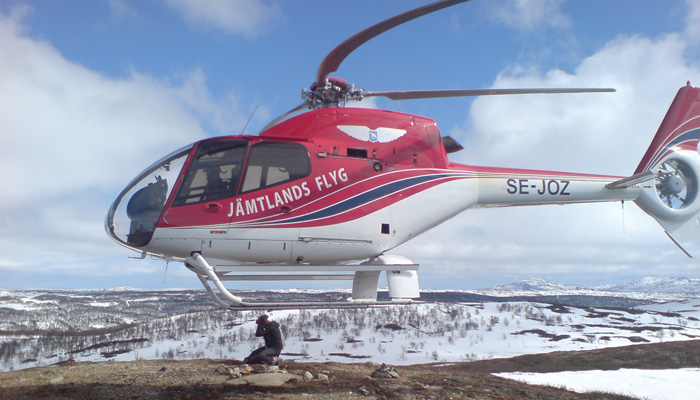
There are plenty of quirks to look out for with digital photography too, whether you’re using a digital SLR camera, compact digital camera or smartphone. If you’re snapping a fast moving object, due to the way the camera’s sensor (CCD) captures the light, you may find chunks of the object are missing or even in the wrong place, this is most apparent when taking a photo of something like a fan or propeller.
Advertisement ‐ Content Continues Below.
Using modes like HDR (High Dynamic Range) and panoramic can also increase your chances of catching an anomaly on camera, these setting should be avoided. Both these option involve taking multiple photos, this means that between photos object can move and appear distorted or semi-transparent. In the case of panoramic photos, multiple images are stitched together horizontally. In the case of HRD photography two or more images of different exposures are captured and laid on top of each other by the camera to create a balanced shot.
Ask The Spirits To Be Present In Your Photo
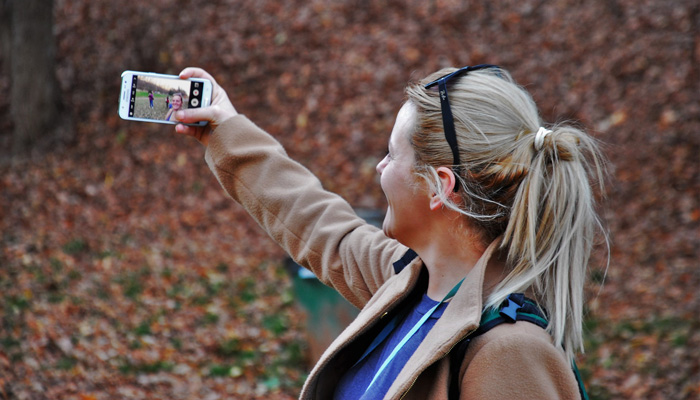
If however you’d walked into the room, asked your family to pose for a photo, given them a chance to run their fingers through their hair and then get in line, you’d get a much better result and the same applies for the spirit world.
When taking photos, call out to the spirits, let them know what you are doing and ask them to show themselves in your photographs if they can.
You could also try taking selfies, if a spirit has attached itself to you or is following you then you might find that a selfie is the best way to capture a spirit which is lurking over your shoulder.
Take Three Photos In Quick Succession

If you’re lucky enough to have caught an apparition or spirit on camera that’s great but a single photo doesn’t tell you much and skeptics will instantly point out all of the factors which could have resulted in your spooky shot.
So, always take multiple photos. Keep the camera still and take at least three photos as quickly as your camera will allow you too, some cameras have burst mode which is perfect for this.
By taking multiple photos you go from having a still to a timeline of images. If an anomaly appears in just one of the three photos then it’s most likely a piece of dust or other artefact.
If however the object is in all three photos then there’s no denying that you’ve caught somethings weird, you might even be able to determine a direction it’s travelling in, the objects size or the distance from the camera.
You should also try taking photos in each location with and without a flash, sometimes a flash can bounce in unexpected ways and cause strange tricks of light on the camera. On the other hand, using a flash could neutralise anomalies as a result of rogue artificial light or natural light through a window.
Tips & Pointers
Be aware of dust. Particles in the air passing by the camera’s lens closer than the subject will appear out of focus, when caught in the camera’s flash they may also be more illuminated that the subject or backdrop. This is a common cause of ‘orbs’, but being aware of your surroundings and using the techniques above you should be able to determine whether the glowing spot in a photo is dust or something more.
Maintain your equipment. Checking your camera over before a ghost hunt is a good idea, this may avoid dirt on the lens or the DSLR’s mirror (behind the lens) which could be mistaken for strange spots in photographs.
Be rational. Occam’s Razor is a line of reasoning that says the simplest answer is often correct. If the apparition you’ve captured on camera looks like a shadow of a fellow ghost hunter, then it probably is. The more credible ghost hunters are the ones who are willing to debunk their own work.

Want To Become A Ghost Hunter?
Get a diploma in the paranormal.
Sign up today for an online Diploma in Practical Ghost Hunting and Scientific Analysis for just £15, down from the regular price of £28.

