Analysing EVPs & Making Sense Of Spirit Voices

This article is more than one year old.
Electronic Voice Phenomenon (EVP) are the mysterious sound of disembodied human-like voices of unknown origin that are heard through electronic devices. They are usually heard in the form of sounds imprinted on an audio recording or through radio noise.
Below are some tips and best practices to help you analyse your recordings and understand any potential spirit voices contained within them. These tips are intended a guidance only, as every team and investigator has their own methods. What works for one investigator, may not work for others.
Playback

Even if you reviewed the audio as you went during the session, you should still review all of the audio in full after the session.
The built-in speakers on audio recorders are often inadequate for a proper review and while at a location you may find it hard to find somewhere quiet enough to properly review the audio.
The simplest approach for reviewing and analysing your recordings is to plug your audio recorder directly into a good quality external speaker or connect a pair of good quality over-ear headphones. Either of these methods are really the minimum required effort, they’re not ideal but they’re a good place to start.
A better approach is to transfer the audio on to your computer, this allows you to review the audio in greater detail. Once on your computer, it then becomes easier to turn up the volume, pause, and go back to re-listen to specific parts of the recording again.
Transferring audio is normally done via a USB lead and audio files are compatible with Windows or Apple devices. You should refer to the specific instructions in your audio recorder’s operation manual for more details on this.
There are some cases where the process of transferring audio may be a little different and might require a little more effort. If you’re using an analogue recording device such as an old tape recorder or an early dictaphone, then there won’t be a USB port on the device. You may need some special audio leads and a USB audio interface in order to capture the audio. The downside of this is that the audio isn’t transferred instantly like it is over USB, it is captured by the computer in real time, and poor quality audio connections might lead to unwanted noise in the transferred audio.
Unfortunately this is unavoidable and is the nature of analogue recordings. To ensure you obtain the best audio possible when transferring from an analogue device, practice the transfer process in order to familiarise yourself with the ideal settings and levels required on both the recording device and the computer.
Once the audio is on your computer, you should again ensure you are listening to it through high quality speakers, or better still a good pair of over-ear headphones.
MP3 and WAV files can be played easily on computers, either using Windows Media Player on Windows machines, or QuickTime player on an Apple Mac. You can also use a free audio player such as VLC, which is available for both operating systems.
Advertisement ‐ Content Continues Below.
Listening
Listen to the audio from start to finish, from the moment you press record to the moment you press stop. EVPs don’t always happen on demand, so you might hear unexpected voices in parts of the recording where you weren’t actively asking for responses.
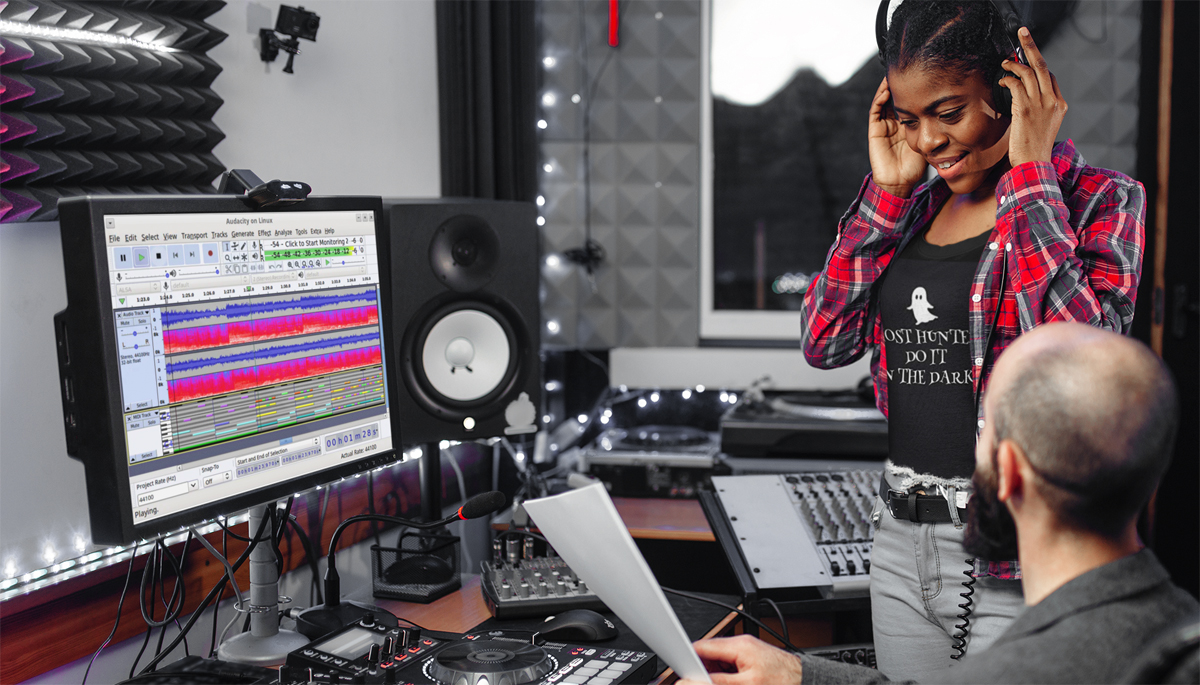
You should listen carefully for anything that sounds like a voice in the audio. If you hear anything either make a note of the time in the recording and what you think the voice is saying. Or better still isolate the specific piece of audio and save it as a separate file. This can be done using free audio editing software like Audacity, or the more professional software Adobe Audition.
When saving a highlight, be sure to leave a few seconds before and after the sound as this provides important context should you wish to play these highlights to someone.
Be sure to set up a method of saving your sessions and recordings so that you can easily refer back to the raw session and find examples of the EVPs you captured. Of course how you do this is up to you, but a good way to manage this is to create a folder with a meaningful name including a date code, such as “2021-10-31 – Hampton Castle”. Save the raw audio recordings from your recorder in this folder. Don’t edit your raw recording files, this is your evidence. Editing the file could remove vital context making later analysis impossible.
If you are logging the EVPs then save a text-based log file document in the same folder and note anything you hear. So for example, if you hear a voice at 5:12 in the recording that sounds like it’s saying “help me”, then in the document add “05:12 – Help me” to an ongoing list.
You should use the same naming approach if you are isolating and saving the individual EVP clips. Again save the clips in the same folder and call the file “05-12 – help me.wav”. This will allow you to easily find a specific EVP you captured, but also tells you where you can find that EVP in the original recording.
The trickiest part can be hearing the voices, working out what they’re saying and recognising when something that sounds like a voice isn’t a voice at all but has another explanation.
The problem is that when you listen back to audio alone, you don’t have any real record of the causes of background noises and other sources of sounds, other than your recollection of events. Your memory alone simply isn’t reliable enough. You won’t remember every sound that was heard at the time of recording, you may not have even picked up on the sound or been consciously aware of it at the time.
Normally we are able to see the things around us in order to add context to and help us understand what we’re hearing, this is of course not the case with an audio recording.
While you’re trying to pick a sound out from the background, don’t ignore the background noise all together as it provides important context and clues that may help you to explain an unexplained sound in the recording. For example, if you hear the moment someone takes a piece of electronic equipment out of their bag, then a strange sound moments later could be the piece of equipment being switched on.
Comparing the suspected EVP to the background noise can also give you an idea of how loud the sound was. Was it louder or quieter than the investigators’ voices? Are there any other similarly pitched sounds heard before or after?
The quality of EVPs do vary and researchers do need to have a certain amount of patience and concentration to distinguish them from background noise. Some words are difficult to understand, while others can be very clear.
Some EVP researchers liken understanding the voices in EVPs to learning a new language, but this isn’t a good approach as it suggests that the words are unclear and the researcher is inventing ways to hear something that isn’t really there.
Auditory Pareidolia

Pareidolia is a form of apophenia, which is a more general term for the human tendency to seek patterns in random information, and this applies to audio too. Just like with vision, we are all susceptible to hearing words that are not actually in the sounds you are hearing. This can occur by misinterpreting words that are being said, or by hearing words in random noise.
Auditory pareidolia isn’t the only thing that might cause you to misidentify an EVP. The truth is, understanding or interpreting what an EVP is saying is subjective because the voices are often so unclear. You will find that people often disagree with your interpretation of a word or phrase and hear something completely different. As the listener you may be influenced by the question that was asked prior to the EVP response or by your knowledge of the location you were investigating. You are likely to simply hear what you expect to hear.
Auditory pareidolia is by far the biggest and strongest argument against the credibility of EVPs. Skeptics maintain that the majority of EVP recordings are sounds that are misinterpreted most often caused by natural phenomena including ambient sounds, atmospheric electrical interference, radio interference, faulty equipment, sounds caused by the recording device being moved or handled, or the sounds of the inner workings of the recorder itself. Because of this you should do all that you can to validate your recordings.
Luckily, there are ways to remove subjectivity and validate your EVPs. First off, if you hear something anomalous, isolate the clip and remove all context by removing anything said around it or any questions asked. Then forget about it for a day or two. After this time, listen to the clip out-of-context and decide whether the sound still sounds like the word you thought it did previously, a different word, or nothing at all.
The next step is to get other people to listen to it, ideally a group who are not interested in the paranormal or familiar with EVP research. Again make sure there is no context and do not tell them what you believe the voice is saying. Don’t tell the listener where the clip was recorded or what was being asked, just play them the sound and ask them to tell you what they hear.
If their interpretation matches yours then this is good validation of the EVP. However, after asking several people you may find that the majority hear a different word or phrase to you. Since all these people heard the same speech without the influence of the context of the recording, this should tell you that your interpretation is wrong.
As stated previously, context is very important and should be stored as your core evidence and backed up, but it’s really important to temporarily remove the context for review purposes. Playing the reviewer the context will mean that they try to interpret the sound in a way that fits any question being asked rather than listening objectively.
Should You Enhance Recordings?

One area of EVP research that is often debated is whether the audio captured should be enhanced or manipulated. A researcher may choose to enhance their audio in order to make the words heard clearer or to filter out background noises.
The problem with doing this is that if you are intentionally manipulating the audio to make it sound more like the words you think it sounds like, then what you’re left with is your ideal interpretation of your own subjective perception of what that EVP should sound like, not a true representation of what it sounded like at the time it was captured.
It’s the audio equivalent of distorting a photo or video until it looks like what you want it to look like. Case in point you could also manipulate the audio to sound less like words, which would also be an untrue representation of the sound.
EVP recordings often have a lot of hiss due to the nature of how they’re recorded, in very quiet situations. This hiss is similar to white noise, a cacophony of random sounds spanning across the whole frequency range. When this sound is run through a digital filter to clean it up, normally the high frequency sounds are taken out. These are the frequencies that our ears are most sensitive too, therefore creating the dominant hiss sound in white noise.
What you’re left with is a collection of sounds within a certain frequency range, this can sound very different and with some of the noise removed random patterns may present themselves causing a greater risk of pareidolia.
Some EVP researchers sometimes capture what sounds like words spoken at a slow or faster speed than normal. It’s not uncommon to use audio editing software to speed up or slow down recordings for this reason, but again this should be avoided as changing the speed will cause the audio to become an inaccurate reproduction of the original sound.
Therefore, the filtering or manipulation of clips should be minimised and clips presented in as close to their original form as possible. However, if done properly manipulation can improve the audio. You can filter out just the extraneous sounds leaving you with a more accurate representation of the captured sound.
There are also types of manipulation and enhancement that are acceptable and can be very useful when reviewing your audio, and that’s the simple amplification of the audio in order to enable you to hear any potential EVPs more clearly.
While logic states that a clear recording is always preferable, many prominent investigators have set a trend of manipulating and enhancing their recordings. They often say that it makes it easier for the listener to hear the EVP, but of course as mentioned previously, what’s being heard may not be a true reflection of what was originally recorded.
In the spirit of keeping your audio as true to the source recording as possible, if you really must enhance it, then limit yourself to just one or two enhancements.
Of course recording conditions vary, but try to find filters and enhancements that work for you and stick to them – at least this way you’ll be treating all potential evidence fairly. If you apply different filters to varying degrees on different clips, then you will not be able to make objective comparisons between those EVPs.
If there is a need for different filters or enhancement with different pieces of audio, then this merely highlights the problem with enhancement. It shows that you are intentionally altering a clip in order to make a noise sound more like the voice that you subjectively think it should sound like.
Enhance & Filtering Recordings

Before you do anything to your recordings, make sure you make a copy of the original files and back them up to ensure that you don’t unintentionally and irreparably alter the recordings.
In order to enhance your audio, you’ll need some audio editing software. The most commonly used are Audacity, Adobe Audition, both of which are available for Apple Mac and Windows computers, as well as Goldwave on Windows. Audacity isn’t quite as good as Audition, but it is completely free to download and use.
Although these and other applications are great for editing audio, they’re not really fit for the purpose of enhancing EVPs to the degree that some investigators push them. In the field of audio recording there is a commonly used term, signal to noise ratio. The ‘signal’ is the audio you want, the voice, the music, or in this case the EVP. The ‘noise’ is any hiss, rumble or hum. So a high signal to noise ratio means there’s lots of what you want to hear without much unwanted noise. This is the type of recording that audio editing software is designed to work with and what most audio industry professionals want to use the software for.
Unfortunately, in the case of EVP recordings there’s often a low or even a negative signal to noise ratio, which means that signal power is lower than the noise power. Editing software struggles to deal with this sort of audio because there is often not enough clean signal to successfully be restored. So, enhancing a very faint sound from a recording with significant ambient noise will often be too much of a stretch.
The problem is that the normal ‘noise reduction’ or hiss removal tools in the software will not be able to tell the difference between the noise and your EVP, so when the filter is applied, it will either mute the whole recording or try to aggressively enhance a certain frequency range while softening the surrounding frequencies.
For their intended purpose, these filters work well. If you’re trying to remove an unwanted hiss from a clip of a loud recording of a speech, then the software will take a way this hiss and leave the speaker’s voice relatively untouched. However, when used to try to enhance faint sounds within a lot of noise, it may change them so significantly that the results are of no use as evidence.
Due to the nature of software, settings options and tools often change, so it would be impractical to offer step-by-step guides to enhancing audio in this article. Instead we will take a look at the tools you can use which should be similar to some extend across all audio editing software.
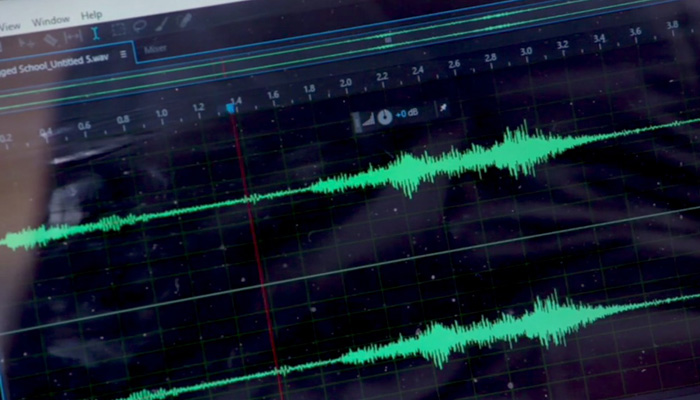
Some audio editing software allows you to switch to a ‘Spectral Frequency Display’ view rather than the standard waveform. This view can be very useful for identifying and removing or enhancing noise in your recordings.
Amplification
Perhaps the most useful tool is ‘amplify’, which can be found in the ‘effects’ tools. This allows you to basically increase the volume of your clip. Be sure not to amplify your clip too heavily as over-amplification will cause it to become distorted.
Start with a 1 to 3db boost and play the audio to ensure it’s not too loud. You will know if it is as the volume meter will be going into the red. If it’s too loud, then press undo and try a lower level. If the audio is still too loud, don’t simply apply another amplification on top, again press undo to take you back to the original level and start with a slightly higher amplification. This will ensure your audio stays as clean and true to its original state as possible.
Although amplification is the best option for enhancing your clips and the least aggressive, it might not help in this case. The problem is, by trying to increase the volume of the EVP, what you’re actually doing is increasing the volume of the whole clip, including the background noise, since both elements get a boost, the EVP becomes no clearer. So another approach is to try to remove that background noise.
If you are using a spectral view of your recording, then after playing the sound through a few times it may be easy to see where the sound is in the spectrum, not just in terms of when the sound starts and its duration, but also where it appears in the frequency range. If you are able to see the sound in the spectral view, then you can highlight it and amplify it. This will more or less amplify just the selected sound without any of the unwanted noise.
Noise Reduction & Restoration
Most software has some basic noise reduction tool built in. This might be called simply ‘noise reduction’, but also lookout for restoration, hiss removal, hum removal, de-noise and vocal enhancer.
If you want to reduce the background noise, then noise reduction/restoration is your best option, but you could also try hiss removal. Vocal enhancer should be a last resort as it is an automated tool which may struggle with clips with a lot of noise and apply filters too aggressively.
Experiment with the different settings, but like with amplification, don’t jump in with very harsh enhancements straight away. Try a less intense filter once, one with a low level of noise reduction. If this doesn’t have much of an impact, or if you’ve applied too much, then again press undo to return to your un-enhanced audio and start again with a different setting.
Capturing a Noise Print
In some applications the noise reduction tool requires you to select a sample of noise for best results. The tool then subtracts this noise sample from the rest of the recording.
If you made a baseline recording at the location, you could use a portion of this recording. A baseline recording made during an EVP session is usually a few minutes long and recorded in total silence to capture just the ambience and background sound for future reference.
If you don’t have a baseline recording, then you can alternatively use a quiet part of the recording before or after the suspected EVP is heard.
You should try to pick a part of the recording where the noise is similar to the background sounds heard throughout the clip and at the point where the sound of interest is heard. Unfortunately, making the judgement is subjective. No two investigators would select the exact same area and this will cause results to vary.
Once you have highlighted the area of noise – ideally at least five seconds of audio, press the ‘capture noise print’ option followed by the ‘process’ button.


