How To Conduct An EVP Session & Capture High Quality Voices

This article is more than one year old.
Electronic Voice Phenomenon (EVP) are the mysterious sound of disembodied human-like voices of unknown origin that are heard through electronic devices. They are usually heard in the form of sounds imprinted on an audio recording or through radio noise.
Below are some tips and best practices to start you on your journey of creating great quality EVPs.
Pick A Location To Conduct Your Experiment
The first thing you’ll need to decide is where to conduct your EVP experiment. This can actually be anywhere. A famously haunted location, a quiet spot in a public place, or even your own home – whether it’s haunted or not.
Today EVP experiments are more commonly associated with ghost hunts in the field, but at the beginning of the 20th century the early pioneers of EVP research proved that you can conduct EVP experiments just about anywhere. Much of their research was carried out as part of early séances, which would take place at the medium’s home or performance space. The medium’s job was to pull the spirits through and communicate with them.
One of the advantages of practicing EVP recording at home or a controlled location is that you’re able to experiment with various types of equipment without having to lug kit around to haunted locations, where you might not be able to plug electrical equipment in and can’t always guarantee silence. It’s a great way to start experimenting with older, less portable devices like vintage reel-to-reel tape recorders or radio receivers.
Where do the voices come from if you’re not in a haunted location? In the case of some famous early pioneers, it was often the voices of deceased friends and family members that came through in the recordings.
So, even if your home isn’t haunted, you can still invite spirits to communicate with you there, including a particular person such as a deceased loved one who you wish to make contact with. If recording EVPs at home, you should try to conduct your sessions at a regular time in the hopes that spirits may learn that there will be an opportunity to come back and communicate again.
Wherever you are recording, it’s a good idea to make a recording of the ambient sounds at the location before you begin your investigation. Make sure the building is empty if possible and quiet, and record for around half an hour. This will give you a baseline or reference audio recording which you can refer to later when analysing your session audio.
Setting Up Your Equipment

The first and most important things to do is read your audio recorder’s instruction manual and familiarise yourself with its functions and features, especially any which might be detrimental to the device’s ability to pick up EVPs.
No matter what make and model of audio device you are using, you should avoid any ‘noise cut’ or ‘low cut’ features, as this will automatically boost, alter and manipulate the audio you are recording. It’s a great feature if you’re using the device for its intended purpose as a voice recorder, but not so much when researching EVPs.
You may also find that your devices has an ‘auto gain’ feature turned on by default. This feature will automatically adjust the sensitivity of the microphone. If you shout into the recorder it will dip the microphone to accommodate the loud sound, but when recording in a silent situation it will boost the gain on the microphone, pushing it to its most sensitive setting.
This is great as it means you will hear really quiet sounds, but it will also mean that something that sounds very loud might have actually been very quiet if the audio hadn’t been automatically boosted. So if you keep this feature turned on, you shouldn’t assume that sounds in the recording are as loud as they appear to be.
Automatic gain can also mean the struggling microphone amplifies the ambient sound so much that the recording consists of a lot of background noise in the form of hiss or low-end rumbling. In the same way as unwanted visual artefacts in a photograph or video can cause us to see things that aren’t really there, unwanted noise in an audio recording can also lead to audio pareidolia. This is when the human brain tries to find patterns and familiar sounds in the chaos and misinterprets random sounds as voices.
Be sure to set the device to record in the highest possible recording quality, this is usually a WAV PCM format, rather than the heavily compressed MP3 format. If you can change the sample rate, then use at least 44,100 Hz. Always choose the high quality (HQ) or ‘lossless’ setting, or if available on your device extra high quality (XHQ) or super high (SHQ). Avoid long play (LP) as this mode extends the recorder’s storage by drastically reducing the audio quality so that the file size is smaller.
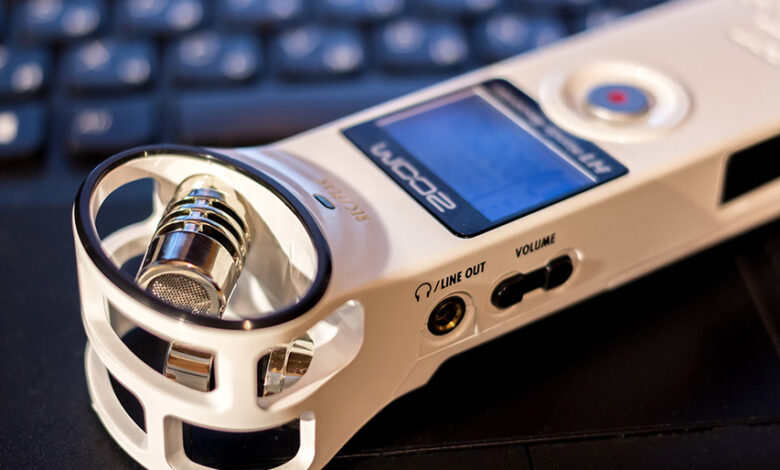
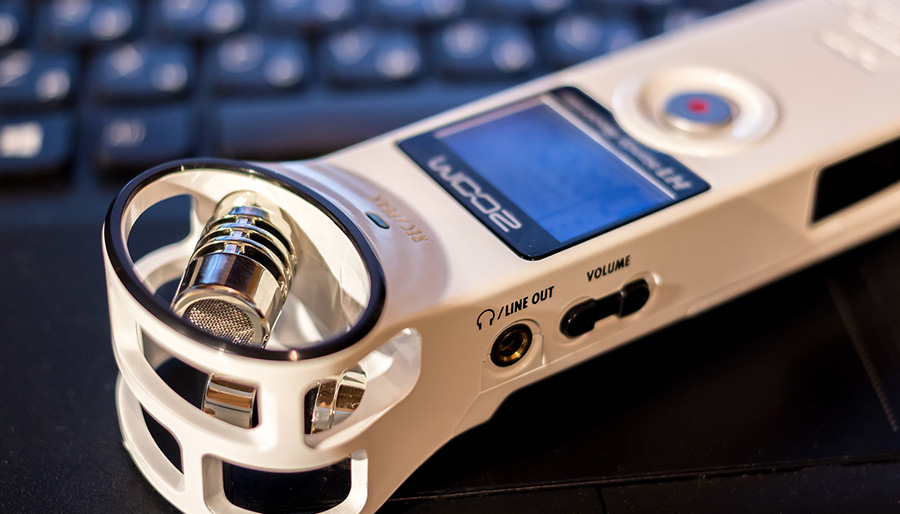
It might also be a good idea to use windshield or muffler, which helps reduces unwanted noise from wind or breeze. A suitable shield can be bought for more professional recorders like those in Tascam and Zoom’s range.
If recording with a mobile, look for the recording quality settings in the app and set it to the highest setting, ideally a lossless quality. Where possible switch from MP3 to WAV.
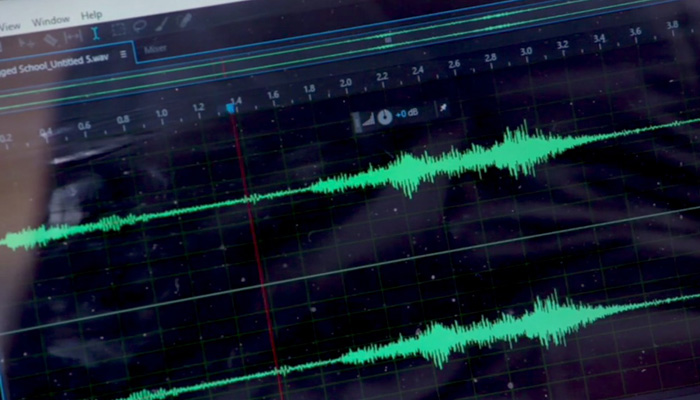
Recording with a computer makes things much easier as you can set the session to a high quality. The settings are defined up front and the raw audio is recorded as a waveform. It’s only when you save the recording that you need to specify a file format, again you should save the recording as a WAV file rather than an MP3.
Don’t forget the golden rule… always use fresh batteries. Before every investigation put brand new batteries in your recording device or make sure it is fully charged. Not only do you want to avoid the batteries running out while you’re recording, but low batteries may also result in a reduction in the quality of the recording or unwanted noise.
In addition to your recorder itself, you may also want to invest in one other piece of kit, an external omnidirectional microphone. These won’t be compatible with all recorders, but they can be easily connected to a computer or laptop, and some models of handheld audio recorders have a standard 3.5mm microphone jack so you can plug one in.
The internal microphones in handheld recorders are good, but they’re not perfect. They are more likely to pick up noises from inside the recorder itself, especially in quiet environments. The built-in microphones are primarily designed to capture human speech, so their frequency range might be limited to the human frequency range. They also tend to be unidirectional so as to pick up the person speaking without background noise.
However, depending upon how much you spend, an external microphone can have a much better frequency sensitivity and can be omnidirectional, which means it picks up sounds coming at it from all directions.
Advertisement ‐ Content Continues Below.
Ensuring High-Quality Recordings

Now you’re ready to start capturing EVPs, you’re going to need to make sure they are the best possible quality, this will make it much easier to analyse them later.
The first step towards achieving crystal clear EVPs is to ensure the environment is free of background noise. So turn off the heating, air conditioning, fans, and any other loud mechanical devices that could spring into action. Make sure that windows, and internal and external doors are closed to reduce noise bleeding through from other parts of the building or from outside.
Place your recorder away from other electrical devices to avoid unwanted interference, especially any device that transmits a radio signal of any kind.
Place the audio recorder on a flat solid surface. Holding a device is a common cause for unexpected sounds as the slightest change in pressure of your grip can cause the plastic housing of the device to flex and make a sound. This is especially true of recorders with in-built microphones. This sound is often inaudible at the time but can sound very loud inside the device where its microphone is housed.
If holding your recorder is unavoidable then use a firm grip and avoid moving your hand while recording.
Avoid placing the recorder on the floor as any movement could cause vibrations resulting in the device translating the vibration as a sound or causing the recorder itself to rock slightly causing a noise.
Do not place the recorder inside of anything such as a box, pouch or your pocket as this will severely limit the device’s sensitivity or make sounds muffled and impossible to either debunk or identify as genuine EVPs.
Take a seat if possible and get comfortable. You should also try to stay as still as possible during the session to avoid making any unnecessary noise. Where possible remove any clothes like heavy jackets that might rustle, or heavy clanking jewellery. Not only could these sounds be misidentified as paranormal contact in the recording later during playback and analysis, but you could also drown out genuine EVPs.
With the basics in place, the next few tips are essential best practice.
Upon pressing record leave five to 10 seconds of silence at the beginning to allow the recorder to adjust to the baseline noise level. If you’re using a tape recorder, then remember that cassettes have a seven to 10 second buffer at the beginning that can’t be recorded on, so allow for this.
Introducing each recording is very important when it comes to analysing your audio later, it means you will know exactly what you are listening to.
At the start of each recording you should start by speaking the date, time, location and number of people present out loud. You can also give the recording a number, e.g. “EVP recording number one.” This will make it easier to keep a track of recordings when you review the audio later. Knowing where the audio was captured and who was present will help you debunk sounds heard in the recording. To help you debunk non-paranormal noises you should note verbally any sounds which are heard during the session so that you can eliminate them from your investigation when you later review the audio.
For example, if you cough, sneeze, clear your throat, move slightly or your stomach rumbles, say out loud “that was me” so that there is no doubt later. It’s surprising how different some normal noises can sound with no context in a recording and can be very hard to identify, which could lead you to a false paranormal conclusion.
How long you record for is really up to you, but a good duration for a session would be around 10 to 20 minutes. You want to give the experiment the best chance of success, but recording too much will mean you have a lot of audio to listen back to later.
However, there are a few different method that determine the recordings time.
Burst Or Realtime & Active Versus Passive EVP Sessions
When it comes to recording, there are a few different tried and tested methods available. These include making a choice between active or passive recording sessions, and whether to use review the audio after the investigation, in realtime or bursts.
Passive EVP Sessions
A passive EVP session is a session where the investigators conducting the experiment are not actively asking questions or encouraging the spirits to interact.
In its simplest form it involves setting up a recording device in a room or enclosed area, and then leave the area and leave the recorder running in silence. The idea behind this is that a supernatural entity may inadvertently make a sound in the recording.
Passive sessions might be a better option for location which are said to house a residual haunting where intelligent two-way communication may not be possible.
After 20 minutes, or however long you feel is necessary, you can retrieve the recorder and review the audio to see if you’ve captured any unexplained sounds or voices during the session.
Active EVP Sessions
An active EVP session is when investigators are actively making attempts to communicate during the session. This normally involves asking a question out loud such as “is there anybody here?” Then leaving a few seconds silence before the next question in the hopes that a response will be captured during the gap.
You could also sit in the room with the recorder and have a conversation with your fellow investigators to see if this encourages any spirit interaction. Although this isn’t a direct approach at communication, since you are still encouraging the spirits to communicate it would still be classed as an active session.
Some researchers have found that when using this method of attempting to capture EVPs, that the voices heard will reference the conversation taking place or reply to certain things which were said. Remember not to be too talkative, you still need to give the voices a chance to be heard over your chatter.
Both realtime and burst methods can be used as part of an active or passive EVP sessions, however they are most often used during an active session as these method allow investigators to be more responsive.
Burst Session
A burst session is almost like a quick fire EVP session. It involves recording two or three minutes of audio using the same methods described previously. The audio is then reviewed straight away allowing the investigator to hear any potential voices that have been captured in the recording.
Realtime Session
A realtime or ‘listen live’ session is where the investigator monitors the audio being captured in realtime. The easiest and most common way to do this is by simply plugging a pair of headphones into your audio recorder and monitoring the sound. You may find that you are able to hear sounds through the headphones that you can’t with your ear alone, but the effectiveness of this depends on the sensitivity of the microphone, the frequency response of the headphones and the quality on the onboard microphone pre-amp and headphone amplifier.
With both burst and realtime sessions, the idea is to listen to EVPs as they occur, or in the case of burst recording, a couple of minutes later while the investigator is still in the same location and conditions. This allows investigators to follow up on any words or phrases they hear in order to continue the conversation.
While these methods, especially burst recordings, tend to get good results, you should remember that listening to audio via headphones while on an investigation might not be ideal when it comes to picking up quieter more subtle voices. Therefore you should always fully review and analyse your full recordings after the investigation to uncover anything you might have missed. There will be more on analysing EVP recordings later.
How To Call Out To During EVP Sessions

Unless you are conducting a passive EVP session, you’ll need to ask any spirits that might be present questions. This is called “calling out” or “asking out”. It involves speaking aloud in an attempt to encourage any spirits that might be present to come forward, talk to you, and answer your questions in your recordings.
1. Leave a gap
When trying to capture EVPs the single most important thing to remember is to remain silent and leave a space after your question to allow the spirit time to answer. It is in this silence that you will hopefully hear a reply in the form of an EVP. Leaving a gap of 20 seconds between questions is good practice.
2. Encourage, Don’t Demand
You need to get the spirits on your side. If you’re on a ghost hunt then you could be in the spirit’s former home, or a place that means something to that person, so treat them with respect. Tell them you’re not there to mock them, the you want to communicate.
Chances are, you’re not the first paranormal investigators on their patch. They might have been asked the same questions countless times before. If spirits truly do exist, then it’s unlikely that they’re going to be happy existing in spirit form for no purpose other than to amuse you.
Instead ask the spirits if they need help or have a message, show an interest in them, perhaps even to help them move on.
3. Make your questions relevant
When calling out to spirits remember that they are unlikely to be from your time. Saying “please speak clearly into the laptop” would mean nothing to a 17th century spirit. Instead encourage the spirit to speak to you or into “the device with the red light on it” – make it as easy as possible for the spirit to understand.
Refer to the spirits as people, “is there anyone here with us? Can you tell me your name?” Give that person, that consciousness, the confidence to step forward and communicate, give them a reason to reach out to you. Treating a spirit with respect and not as a “presence” or a thing will help with this.
Below are a list of example questions and phrases that you can use to try to encourage the spirits to communicate with you. You shouldn’t copy these exactly, it is better to be yourself and talk in a natural and open way as you normally would.
If you can hear me, can you tell me your name.
Can you tell me something about yourself?
If you’re here can you let us know?
How many of you are with us right now?
My name is XXX, can you tell me your name?
Tell us who you are, introduce yourself please.
Can you come and talk to us?
Why are you here?
Of course, if you establish a dialogue with a spirit then you can ask more in depth questions, perhaps to establish how the spirit died or to confirm their identity. Try to ask questions that no one in the room would know the answers to so you can rule out fakery or people subconsciously effecting the outcome.


